
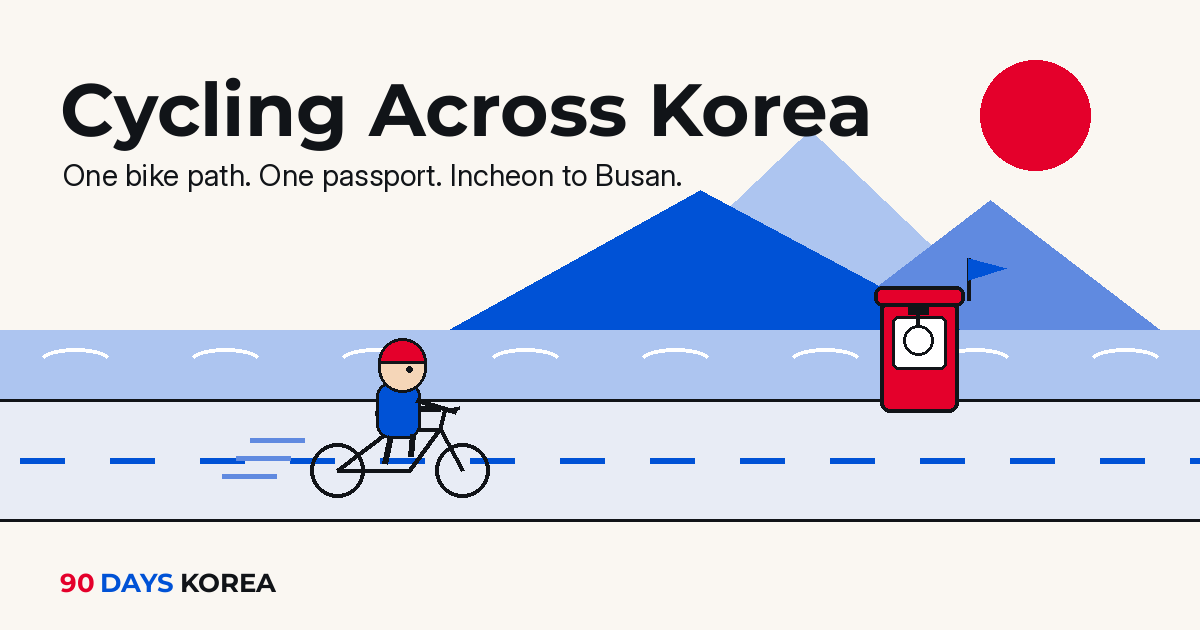
Somewhere between Seoul and Busan, you’ll find yourself alone on a riverside path, legs burning, with a small blue booklet in your back pocket that looks suspiciously like a passport. Inside: a growing collection of red ink stamps, each one collected from a converted phone booth in the middle of nowhere.
This is Korea’s cross-country bicycle route — 633 kilometers of mostly car-free path from Incheon on the west coast to Busan in the southeast. And unlike almost any other long-distance ride on Earth, the country has turned it into a collectible game: stamp booths, an official bike passport, certificates, and an Olympic-style medal if you finish.
If you’re spending 90 days in Korea, this might be the single best big project you can give yourself. Here’s how it actually works — including the parts that are harder when you’re a foreigner, and the workarounds nobody writes down.
TL;DR
- The route: 633km, Incheon (Ara West Sea Lock) → Busan (Nakdonggang Estuary Bank), stitched together from four connected bike paths. Mostly dedicated, car-free riverside trail.
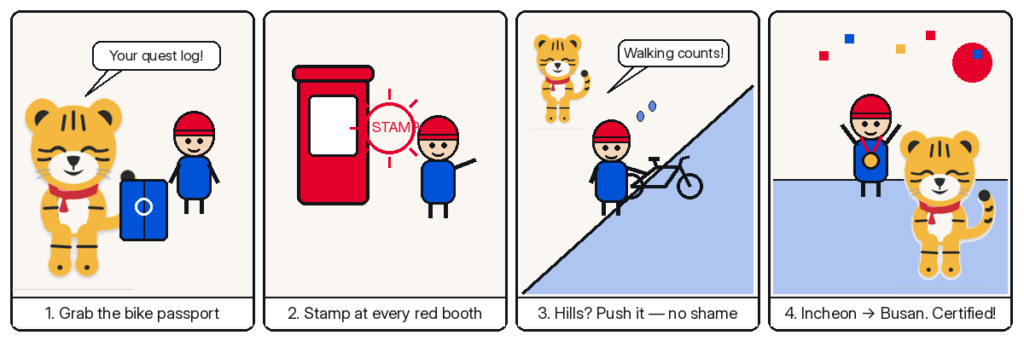
- The game: Buy a bike passport (₩4,000) at a staffed certification center, stamp it at red phone-booth kiosks along the way, and get certified at the end. Finishers get a free certificate and can buy a medal (₩7,500, display case ₩4,000).
- Time needed: Most first-timers take 6–8 days. Fit riders do it in 4–5. You can also break it into weekend chunks over your whole stay — the stamps don’t expire.
- The foreigner catch: The official app and online store need a Korean phone number plus resident ID verification. The paper passport is your friend — and there’s now an English edition sold at five staffed centers.
- Getting back: Trains require your bike disassembled and bagged (folding bikes just fold). And as of July 2026, e-bikes are banned from Korail trains entirely — plan accordingly.
What This Thing Actually Is
Korea built the cross-country route along its major rivers, on land opened up by a national river project completed in 2012. The result is something rare: a nearly continuous, purpose-built bike corridor across an entire country, run jointly by the Ministry of Environment and the Ministry of the Interior and Safety, with K-water managing the certification system.
Four certified paths link up to form the cross-country line:
- Ara Bike Path — a short canal-side warm-up from the West Sea toward Seoul.
- Hangang (Han River) Bike Path — through Seoul and out along the South Han River. This is the stretch you’ve probably already ridden a piece of.
- Saejae Bike Path — the mountain crossing. Two real climbs, including the famous Ihwaryeong pass. This is where the route earns your respect.
- Nakdonggang Bike Path — the long, quiet run down to Busan, past weirs, rice fields and river towns.
Every 15–40 kilometers or so, you’ll pass a certification center — a repurposed red phone booth with a unique rubber stamp inside. Stamp your booklet, remount, repeat. Green roadside signs reading “자전거길 인증센터” warn you when one is coming up, so you’d have to try quite hard to miss them.
Collect every required stamp between Incheon and Busan, hand your booklet to staff at a manned center, and you’re officially certified. Two stamps — Chungju Dam and Andong Dam — sit at the end of long detours and are not required for the cross-country certification (they matter only for other challenges, like the 4 Rivers and Grand Slam certifications, which exist for people who want to collect every stamp in the country).
Step One: Get the Bike Passport
The passport (인증수첩) costs ₩4,000, plus ₩500 if you want the fold-out route map — worth it. You buy it in person at a staffed certification center; the booth at the Ara West Sea Lock starting point sells them, so most riders pick one up in the first ten minutes of the trip.
Two things foreigners should know:
There’s an English edition now. Korea quietly introduced an English-language passport for international riders, and as of 2026 it’s sold at five staffed locations: the Hangang Culture Center, Geumgang Culture Center, The ARC (Daegu), Yeongsangang Culture Center, and the route information desk at Jeju Airport. None of those are at the Incheon start line — so if you begin in Incheon, you’ll likely start with the standard Korean booklet. Honestly, that’s fine: the stamp pages are maps with circles on them, and you don’t need to read Korean to press a stamp into a circle.
The online store and app are effectively closed to newcomers. Officially you can buy the passport online and track stamps digitally through the government’s cycling app — but registration requires identity verification with a Korean mobile number, which in practice means an Alien Registration Card. If you’re here on the 90-day visa waiver, that door is shut. If you’re a resident with an ARC and a Korean number, go ahead and register your booklet’s serial number in the app — it adds QR-code “cyber stamps” as a backup.
Forgot the booklet? Take photos. Riders consistently report that staff at manned centers accept clear photos of you and your bike at each stamp booth as proof, and will apply the stamps for you. Treat this as a backup, not a plan — but it has saved many a ride.
The Honest Difficulty Check
Here’s the part most guides skip: you do not need to be an athlete, but you do need a plan.
The route is overwhelmingly flat and paved, following rivers the entire way — with one major exception. The Saejae section in the middle throws two genuine mountain passes at you. Thousands of ordinary riders walk their bikes up the steepest ramps every year. That is a completely legitimate technique.
Realistic pacing, based on what actual first-timers report:
- Comfortable first-timer: 7–8 days, roughly 80–90km a day, with time to stop, eat and take photos.
- Standard pace: 6 days at around 100km a day — long days, very doable.
- Fit and motivated: 4–5 days.
- The long-stay cheat code: You live here. Ride it in sections — a weekend for the Seoul-to-Chungju stretch, another for Saejae, a final push to Busan. The stamps accumulate in the same booklet, and the certification counts exactly the same. For anyone on a 90-day stay, this is arguably the best version of the trip.
Resupply is trivially easy by world touring standards: convenience stores cluster near almost every certification center and river town, so you’re rarely more than an hour or two from cold drinks, hot food and, frankly, air conditioning. If you’ve read our guide to eating alone in Korea, you already know a convenience-store meal here is not a punishment.
No Bike? Rent One — One Way
You don’t need to own a bike, and you don’t need to haul a rental back to Seoul. Several Seoul-based shops specialize in cross-country rentals: they set you up with a touring-ready bike (helmet, panniers, repair kit), and you drop it off in Busan at the end — some will even deliver to your start point. Search for “국토종주 자전거 대여” (cross-country bike rental) and compare; several of these shops are used to foreign customers.
Two rental decisions that matter more than the brand of bike:
- Skip the e-bike for this trip. Beyond battery-range headaches over 633km, there’s a newer, harder problem: since July 1, 2026, Korail bans all lithium-battery mobility devices — e-bikes and e-scooters included — from its trains, folding or not. If your return plan involves a train (most people’s does), an e-bike strands you.
- A folding bike is the logistics king. Slower on the road, but it walks onto trains and buses as ordinary luggage. More on that below.
Safety, the Law, and the Weather
Helmets: Korean law has technically required helmets for all cyclists since 2018. There’s no fine for regular bicycles — but there is a ₩20,000 fine for throttle-type e-bikes and scooters, and helmet use can affect liability if you’re in an accident. Just wear one; every rental worth using includes it.
Emergencies: The path is remote in stretches but never truly wild — 119 (fire/ambulance) and 112 (police) work everywhere with GPS location, and the 1330 tourism line offers 24-hour interpretation if you need help explaining a situation in Korean. Save all three before you go — our emergency numbers guide covers how each line works.
Navigation: The route is well signed — painted lane markings plus those green kiosk signs — and both Naver Map and Kakao Map have cycling modes that know the certified paths. (New to Korean map apps? Start with our essential apps guide.) A phone mount and a power bank matter more than a GPS computer.
Season, bluntly: If you’re reading this in July or August — the ride is possible, and people do it, but Korean summer is a genuine hazard on a shadeless riverside path. Monsoon downpours, then heat that has been breaking national records. Read our summer survival guide before attempting a summer crossing, start at dawn, and treat midday as siesta time. The classic windows are April–May and September–October: mild air, dry skies, and in autumn, foliage the whole way down. Winter is rideable but harsh; spring wins for cherry blossoms along the rivers.
The Finish Line (and Getting Home)
Roll up to the Nakdonggang Estuary Bank in Busan, get your final stamp, and take your booklet inside the staffed center. Staff verify your stamps, apply the completion sticker, and register your finish — the official certificate with your name on it is free and arrives by mail. The medal (₩7,500, plus ₩4,000 for the wooden display case) is ordered separately through the official river-guide website — this is one point where a Korean-speaking friend or your rental shop can help, since the site runs on Korean identity verification.
Then: you’re in Busan with a bicycle. Your options, ranked by simplicity —
- One-way rental return. If you rented, you hand the bike over in Busan and board the KTX like a civilian. This is the strongest argument for renting.
- Folding bike. Fold it, bag it if asked, and it rides the KTX as luggage.
- Full-size bike on the train. Allowed, but the rule is strict: both wheels off, everything in a bike bag, stored in the luggage area. Buy the bag before your trip, not in a panic at Busan Station.
- Intercity bus. Buses with under-floor cargo bays generally take bikes in the hold — often the least-fuss option for a full-size bike.
One more 2026 change worth knowing at the start of your trip: the Airport Railroad (AREX) no longer allows full-size bikes at all — only folding bikes or fully bagged ones. If you’re bringing your own bike toward the Incheon start point, plan a route that doesn’t depend on AREX, or bag the bike.
Common Problems
“I missed a stamp booth.” Ride back if it’s close; otherwise, photograph yourself at the next booths religiously and explain at a staffed center. Missing one mid-route stamp is a fixable problem; missing the start or end anchor stamps is not — never skip those.
“The ink pad is dry.” A running joke among Korean riders. Many carry a small personal ink pad for exactly this reason. A faint or smudged stamp still counts.
“The path detoured onto a road and I lost the line.” It happens around construction and a few town crossings. Follow the blue painted arrows on the pavement; when in doubt, Naver Map’s bike mode back to the nearest certification center resets you.
“Can I do this on a public rental bike like Ttareungi?” Seoul’s green bikes legally can’t leave their service zone and have no gears for Saejae. Use them for training laps on the Han, not for the crossing.
FAQ
Do I need to book anything in advance? No. No permits, no reservations, no entry fee. Buy the ₩4,000 passport at the start and go. Riverside motels and guesthouses rarely fill up outside holiday weekends — though checking ahead for the Saejae-section towns is smart.
Can tourists without an ARC really get certified? Yes — the paper process is fully open to everyone. Buy the booklet in person, stamp it, get verified at a staffed center. Only the online account, app and medal-ordering steps lean on Korean ID verification.
How fit do I need to be? If you can comfortably ride 60–70km in a day and are willing to walk the steep ramps on Saejae, you can finish this in a week. It’s an endurance test of the mildest, most convenience-store-supported kind.
Which direction should I ride? Incheon → Busan is the classic direction, and prevailing winds and the certification culture both lean that way. Riding it in reverse is allowed — the stamps don’t care about order.
Is it safe to ride alone? By long-distance-touring standards, remarkably. The path is separated from traffic for the vast majority of the route, riders look out for each other, and you’re never far from a town. Standard solo-travel sense applies: share your rough itinerary, keep your phone charged, don’t ride the mountain descents in the dark.
Can I split it across my whole 90 days? Absolutely — the passport has no time limit. Many long-stayers treat it as a running side quest, one weekend at a time, and get certified on their last week. If you’re building a bigger itinerary, our 90-day master plan shows where a ride like this fits.
Official Resources
- Bike Happiness Sharing (자전거행복나눔): bike.go.kr — the official national portal for the certified bike paths and certification system.
- River Guide (우리강이용도우미): riverguide.go.kr — official route info, online passport store and medal orders (Korean ID verification required).
- Korea by Bike: koreabybike.com — the most complete English-language community resource, with every certification center mapped.
- KTO 1330 — 24-hour tourism hotline with interpretation, useful for anything from lodging help to explaining a bike problem.
- Planning the bigger stay? Start with our 90-day master plan, or browse all our guides.